Settings
View Dashboard > Settings
You can customize your Superblog in almost every aspect possible.
There are some sane restrictions in place to make sure that the user experience and reading experience are not compromised.
Settings are divided into three sections for easier use.
- General
- Advanced
- Expert
General settings
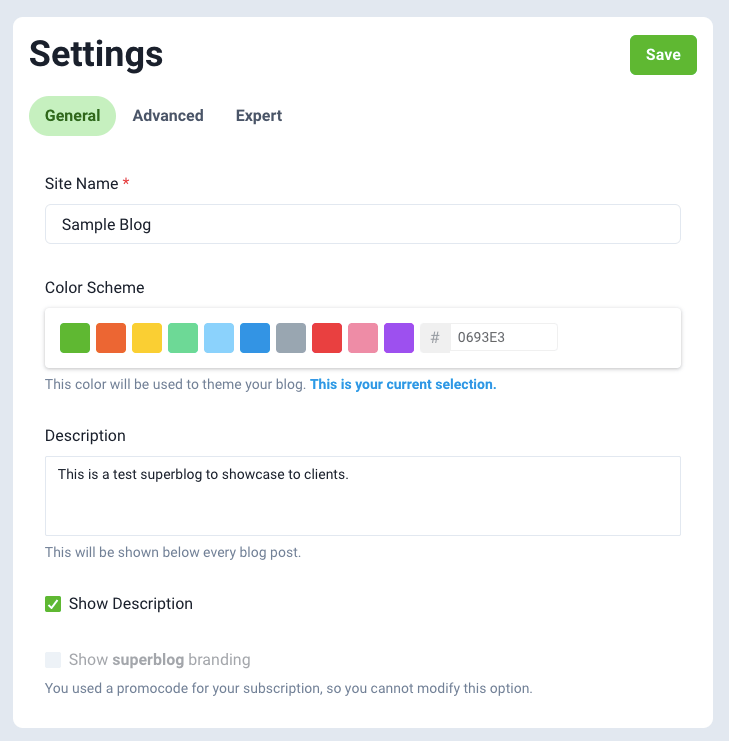
Site Name
This is the name of your brand/product/company. You can change it anytime.
It will be used in multiple places throughout your Superblog:
- In the header of your blog if no logo is uploaded.
- In the footer of your blog if no logo is uploaded.
- Appended at the end of every post's meta title if there is no custom meta title given by you. Example: "This is my sample post | Sample Blog"
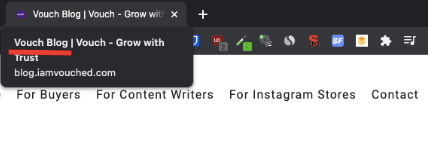
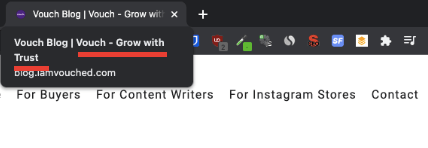
This is also used in meta title of your blog's home page. It will appear on the browser tab as shown below.
Color Scheme
You can this as the accent/theme color. You can choose a color from the default palette or edit a hex color code to match your brand's color. This can be changed anytime.
Buttons, Links, Lead generation forms, Tags, Call-to-actions (CTAs) will use this color.
Description
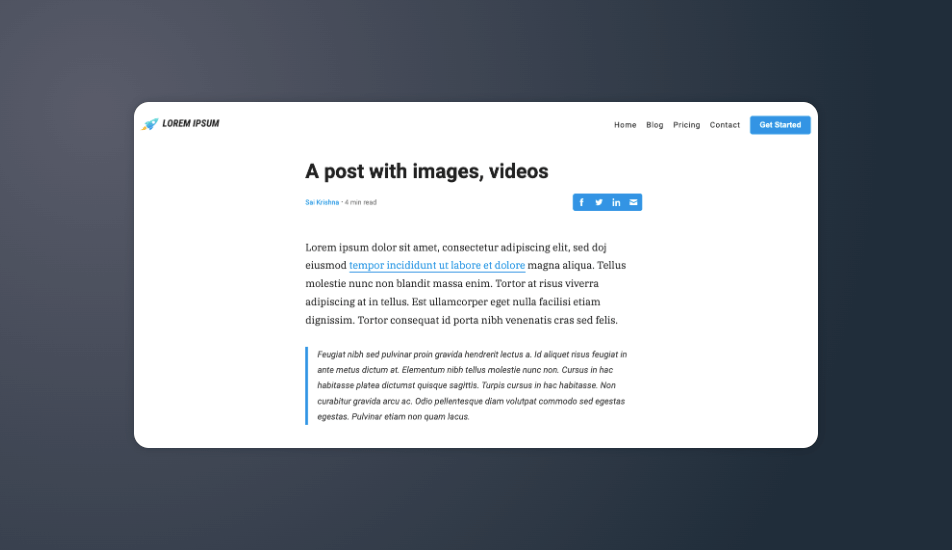
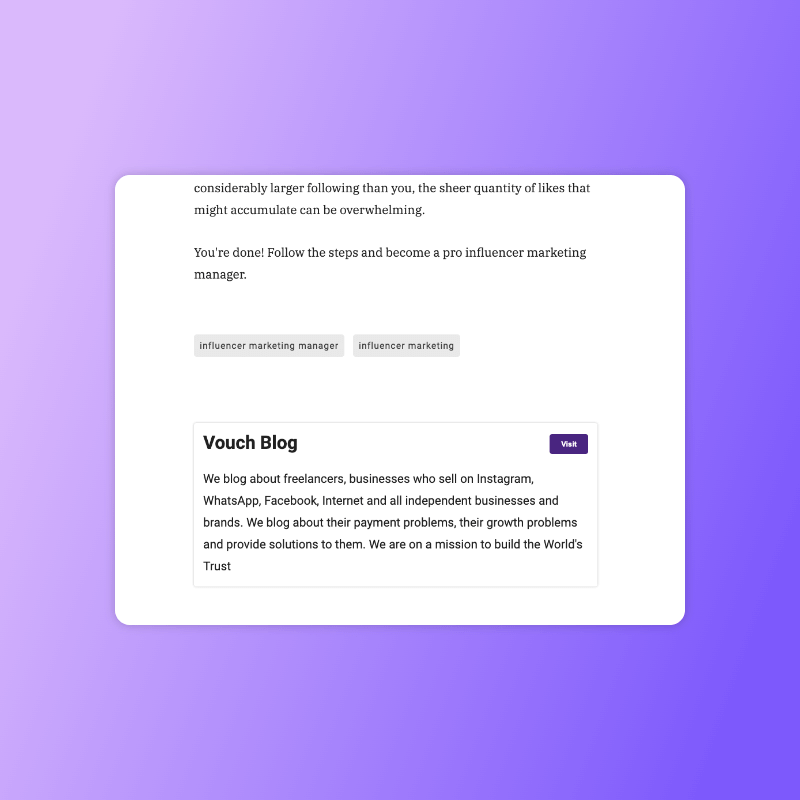
Description is shown below every blog post. Use a short and concise intro about your product or service. It will make your blog readers visit your landing page by making them click on the CTA button.
You can enable/disable this.
Superblog branding
Sueprblog branding can be removed completely once you upgrade to a paid plan. During trial period, a small "Made with Superblog" is shown in the bottom right corner.
Note
If you use a coupon code for discount then you cannot remove the branding.
Advanced Settings
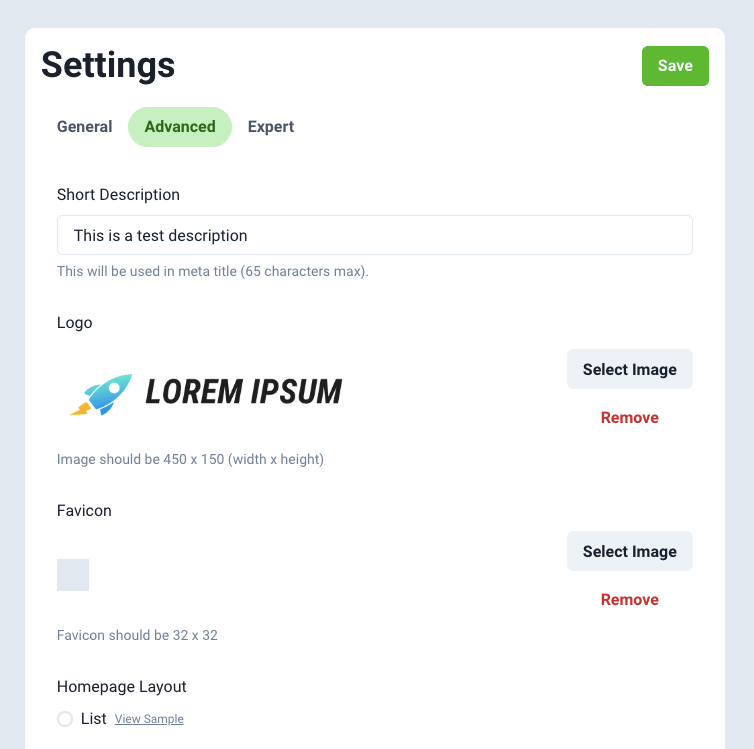
Short description
This is used in meta title of your blog's home page. It will appear on the browser tab as shown below.
Logo
You can upload your own logo in Superblog. It will be shown in the header and footer.
Recommended format: PNG
Recommended dimensions: 450 x 150 (width x height)(px)
Favicon
Favicon is the small icon that you see on the browser's tab for each website visited.
Recommended format: ICO or PNG
Recommended dimensions: 32 x 32 (width x height)(px)
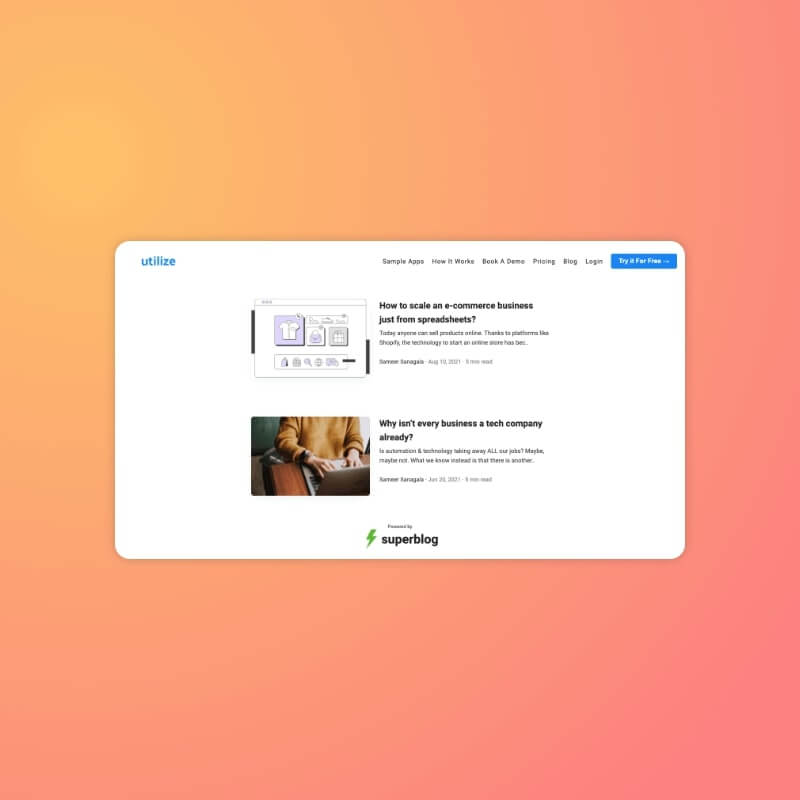
Homepage layout
You can customize your Superblog's layout from available formats.
Grid
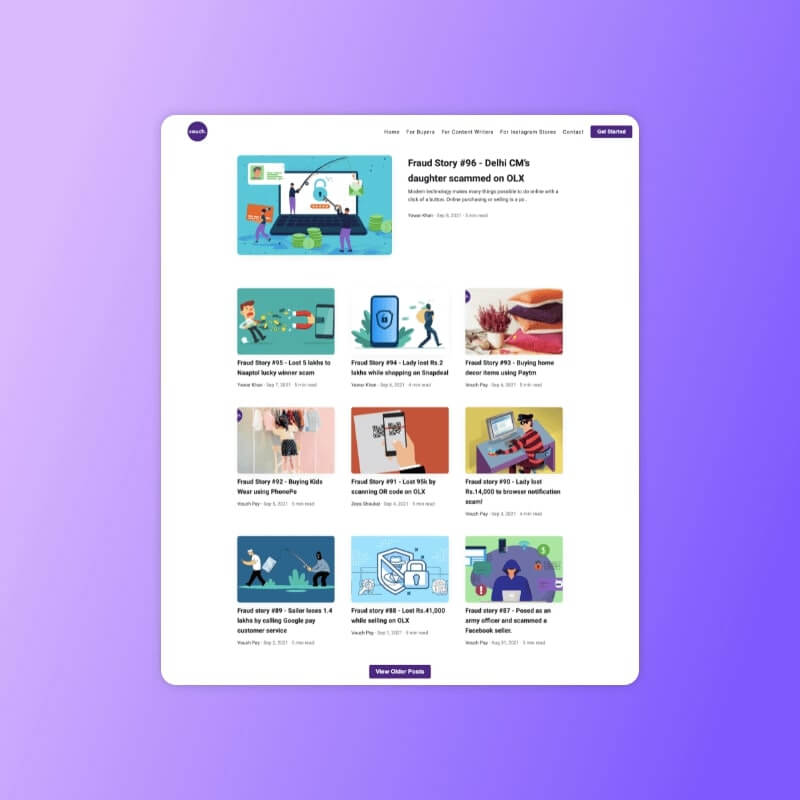
List
Fonts
The default fonts for Superblog are carefully selected for readability, design, and class. But you can also change the default fonts by selecting from 8 font options.
You can preview the fonts here: https://fonts.google.com
Blog UI Font
This is the font used for Headings, Menu Items, Buttons, Footer, etc.
Default: Roboto
Blog Post Font
This is the font used for text content of the blog post body.
Default: IBM Plex Serif
Note
You cannot choose your own custom font for Superblog at this point of time. This is a conscious decision to keep the reading experience standard. You can only choose fonts from a list of given options.
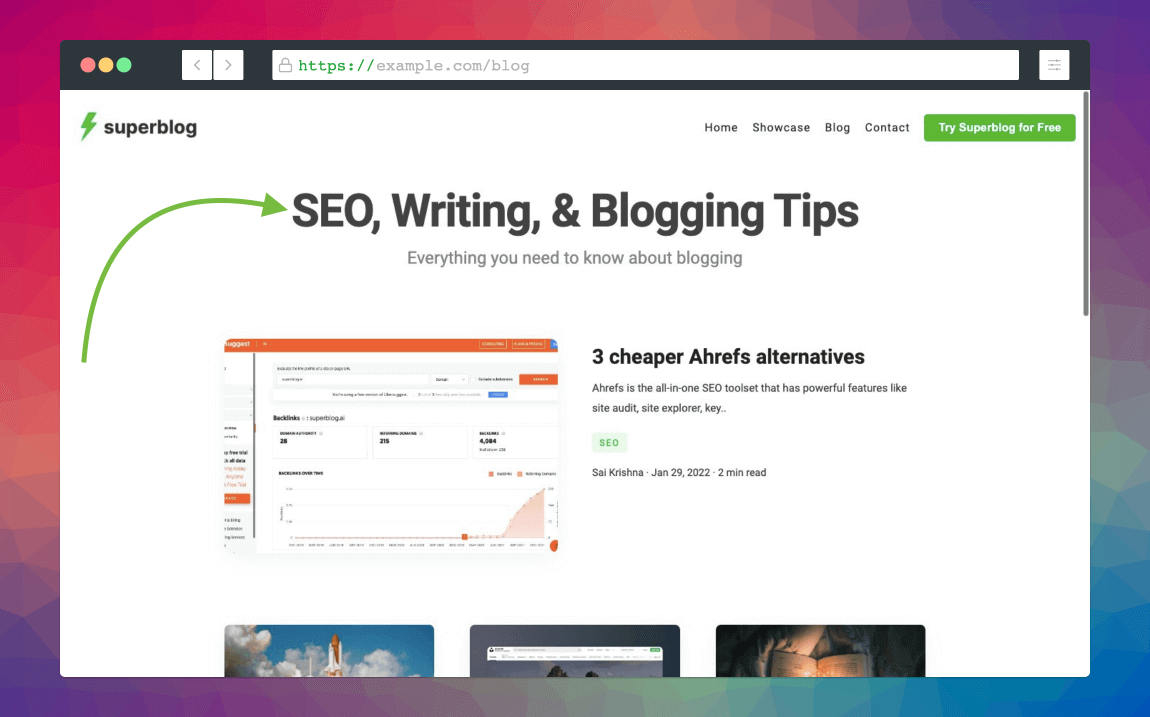
Header title
This is the prominent header text to tell about your blog or product or service.
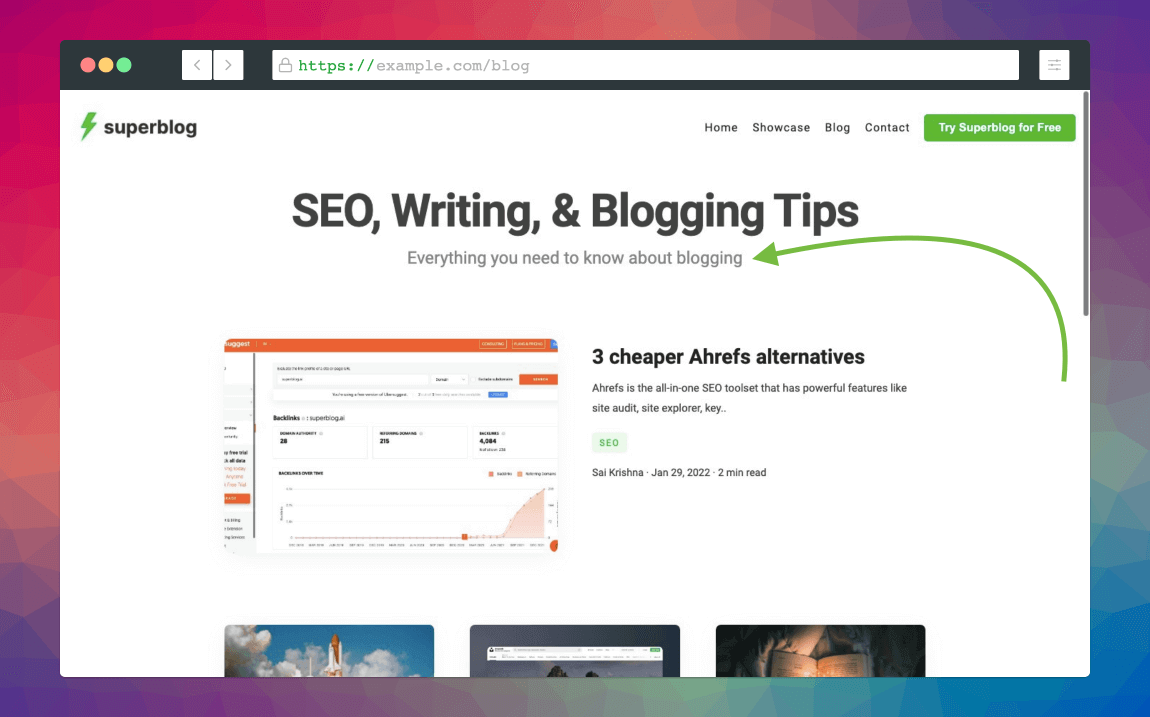
Header caption
This is the caption to explain a bit more or leave a taste of your offering.
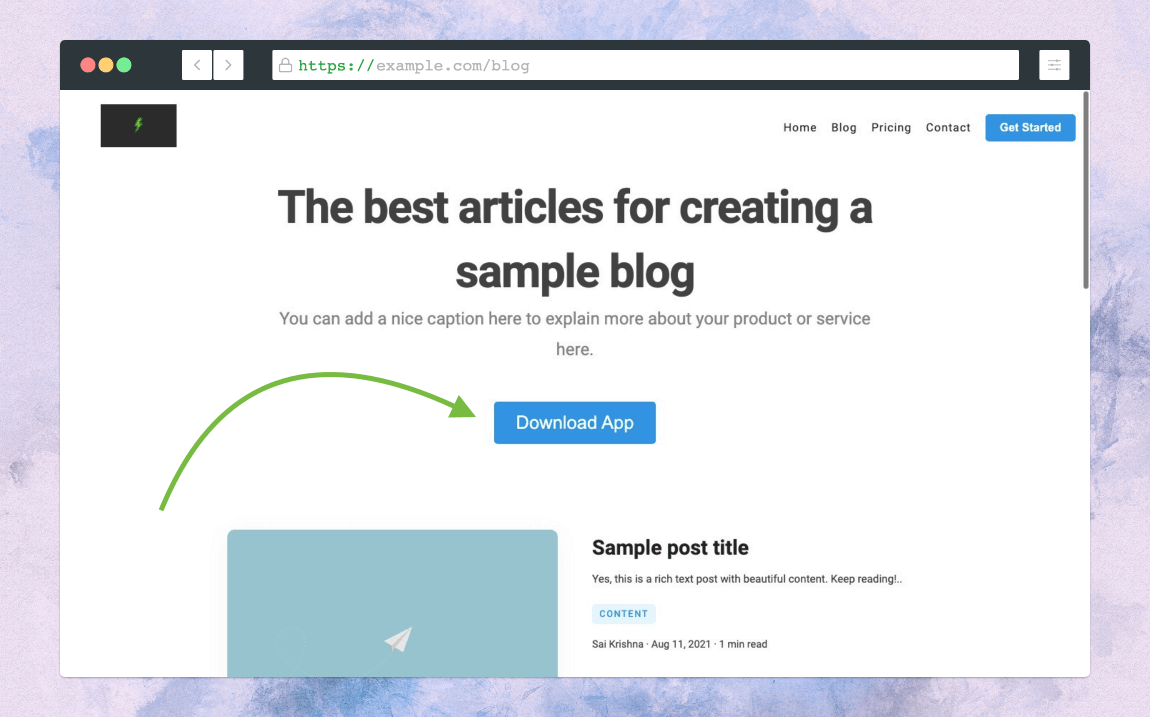
Header CTA
You can use this section to bring your blog visitors to your landing page or product page.
Write a catchy Call to Action text to be displayed on the button. You can enter a custom URL to which the visitor should be taken.
Blog Interface Language
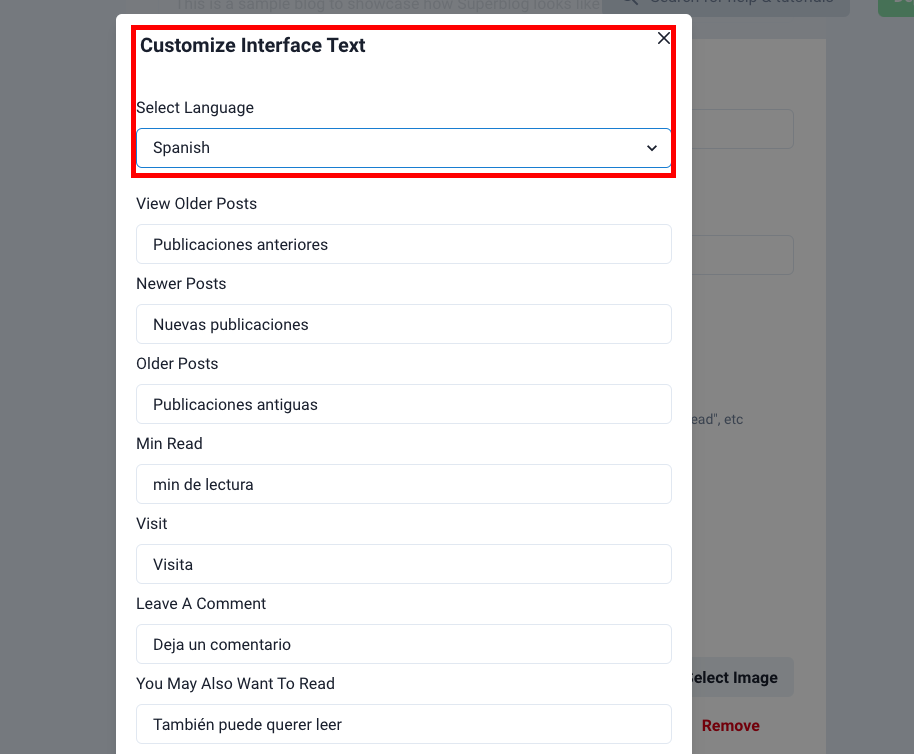
You can select a language for your blog interface (internationalization/i18n). The UI elemenets like "View Older Posts", "New Posts", "5 min read", etc are automatically translated to the language of your choice.
You can also add your own vocabulary for the interface elements.
Available languages
- English
- French
- Italian
- Russian
- Spanish
- Custom

OpenGraph Image (Social Preview)
Whenever you share a link on social media (like twitter, facebook, linkedin etc), they tend to show a preview to users. You can control how your blog's URL is shown as a preview.
Select an image as shown below and it will be displayed as the preview image whenever your blog is shared on social media sites.
Recommended dimensions: 1200 x 630 (width x height)(px)
How to refresh social media preview image
Social media sites will cache your preview image from time to time. You need to manually update the preview whenever you change the image. Here is a clear guide.
Expert Settings
You can add control all the power features for your Superblog in this section. They include canonical and sitemap urls (trailing slash), google analytics, google adsense, custom javascript, etc.
Google Analytics Id
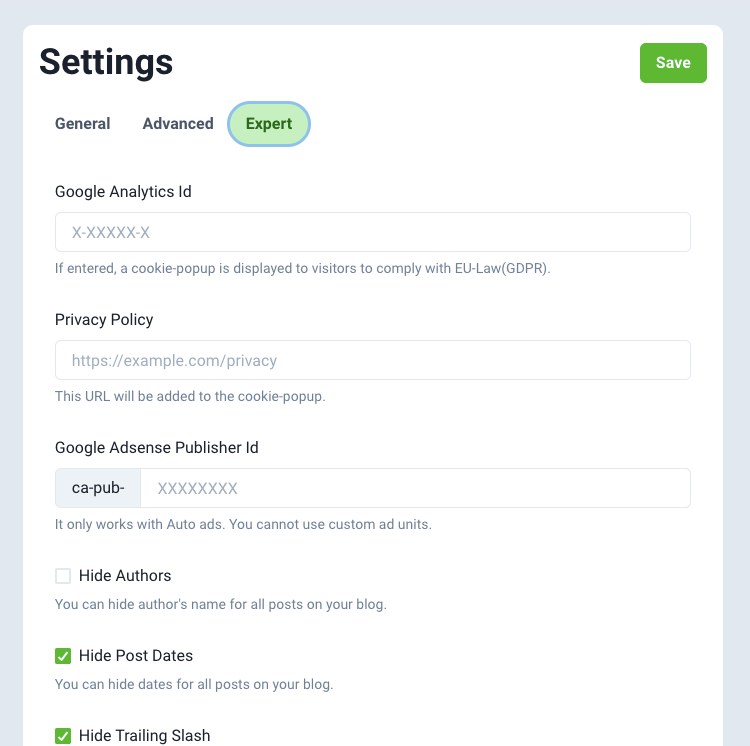
There is an inbuilt analytics module in Superblog. You can view pageviews, visitors info, top pages etc from Superblog dashboard itself. (Only available in PRO and higher plans)
However, if you want to use Google Analytics to track your blog's pageviews and visitors then you can paste your Google Analytics tracking code here.
Google Adsense (Auto Ads)
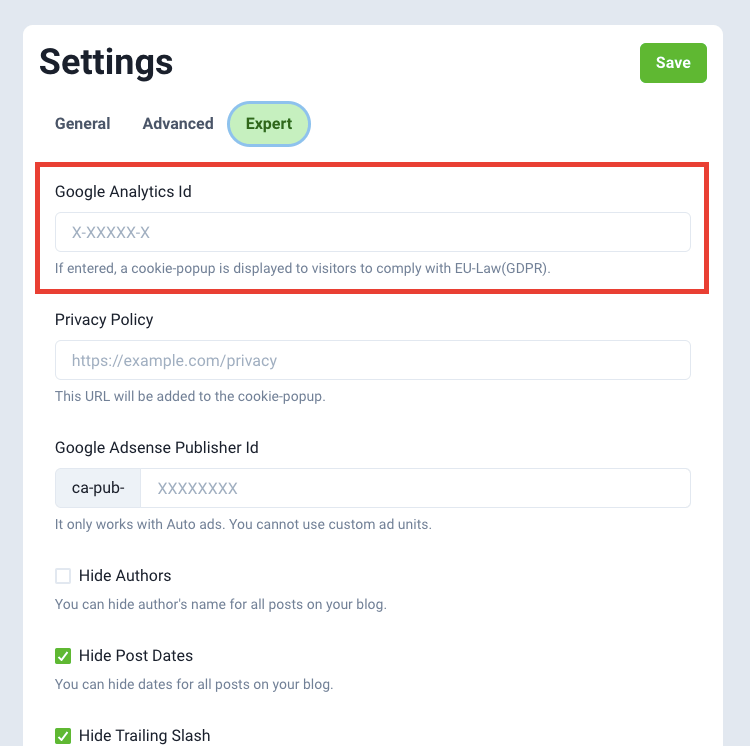
If running Google Adsense is your revenue model then you can paste your Google Adsense Publisher code to display Auto Ads.
You can not use custom ad units in superblog. Only Auto-ads are possible.
Meta Title
You can add custom meta title for your superblog's homepage. If this is not entered then "{name}| {short description} is used as the meta title.
Meta Description
You can add custom meta description for your superblog's homepage. If this is not entered then the excerpt of "description" is used as the meta title.
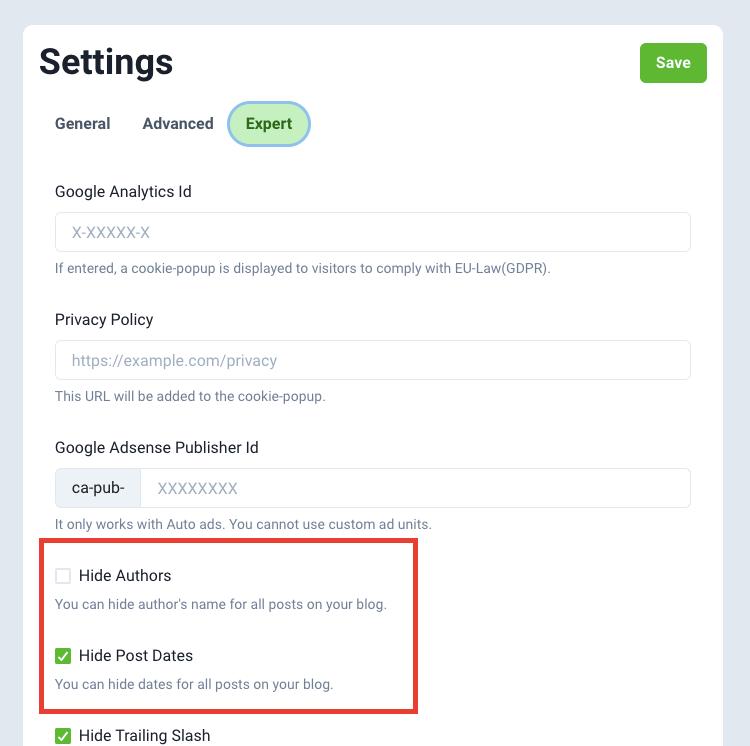
Hide Post Authors and Dates
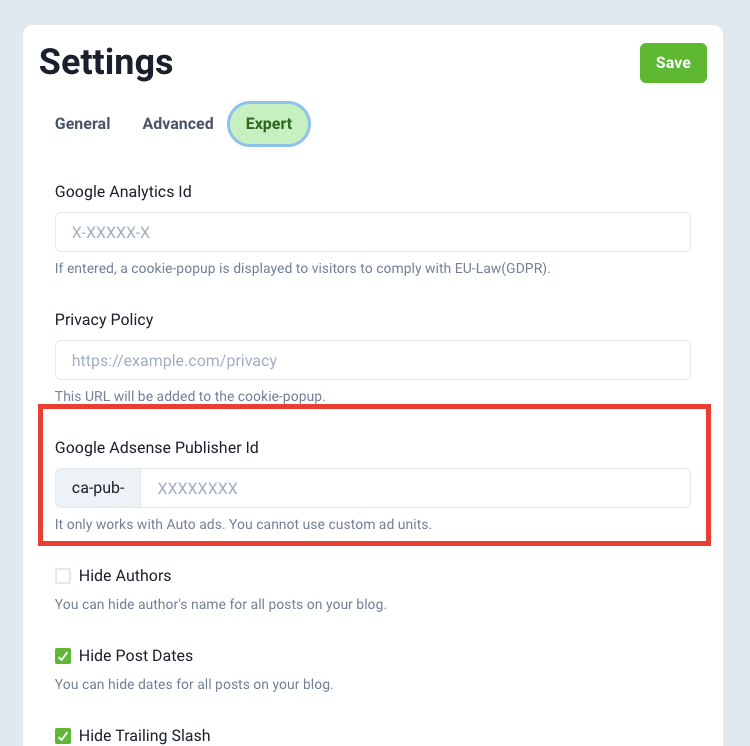
You can hide Author names and dates for all posts in this section.
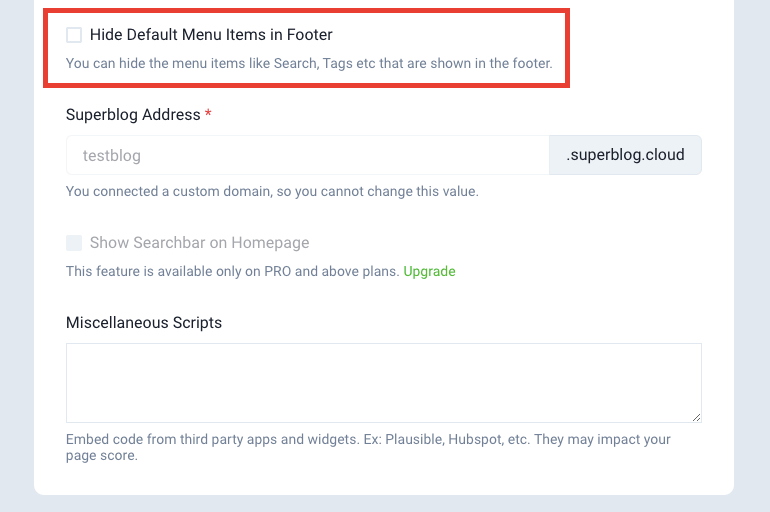
Hide menu items in footer
You can hide default menu items in footer by visiting settings>expert section.
Use blog as root Url
When you connect blog.example.com or example.com/blog to your Superblog, you can find this option in settings > expert section.
By default, clicking on your blog's logo will take you to example.com. However, if you want to send users to your blog's home page (blog.example.com or example.com/blog) when clicking on the logo, then you need to tick this checkbox.
Send Email on Deploy
You can choose to receive email notifications when your superblog is deployed. If you wish to not receive email notification for deploying your superblog, you can disable this setting.
Miscellaneous scripts (Custom JS)
You can add custom javascript to your Superblog by visiting settings>expert section. It can be your own javascript or thrid-party widget code. For example: help chat widget, analytics tracking code, popup-scripts etc.
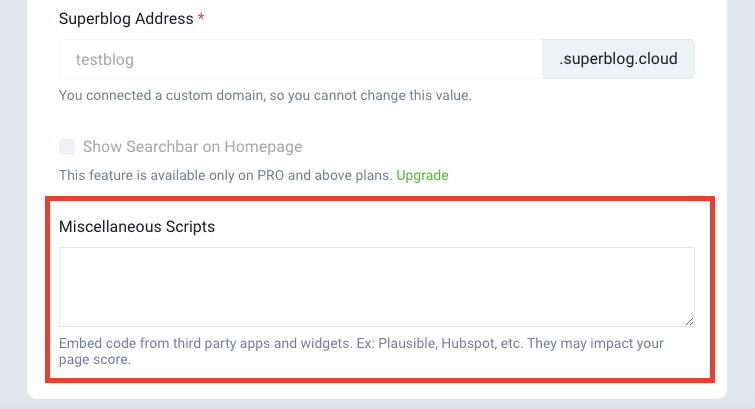
Example
<script>
    alert("hello");
</script>
Note
- All the code entered here will be present in
<body/>section of your Superblog. - Adding unoptimized scripts or too many scripts might reduce the performance score of your Superblog.
Head scripts (Custom JS)
You can add custom javascript to <head/> section of your Superblog by visiting settings>expert section. It can be your own javascript or thrid-party widget code. For example: help chat widget, analytics tracking code, popup-scripts etc.
Example
<script>
    alert("hello");
</script>
Note
Adding unoptimized scripts or too many scripts might reduce the performance score of your Superblog.
Custom CSS
You can add custom CSS to your Superblog by visiting settings>expert section. This feature will allow you to modify your Superblog with fine changes.

Example
/* this will make the post's title align to the center of the page */

.post-title {
    text-align: center;
}
Live Superblogs
Superblog's customers are very creative. They add beautiful CSS and JS to modify the look and feel of their Superblogs to match their needs.
Custom Robots.txt
You can use custom Robots.txt file. Just copy-paste a valid robots.txt file contents into the text area and click deploy.
It will be available in
subdirectory: yourwebsite.com/blog/robots.txt
subdomain: blog.yourwebsite.com/robots.txt
Disqus Comments System
You can use Disqus as your comments sytem instead of Superblog's native comments. Once you enter your Disqus shortname, Disqus comment system will be shown in place of Sueprblog's native comments.
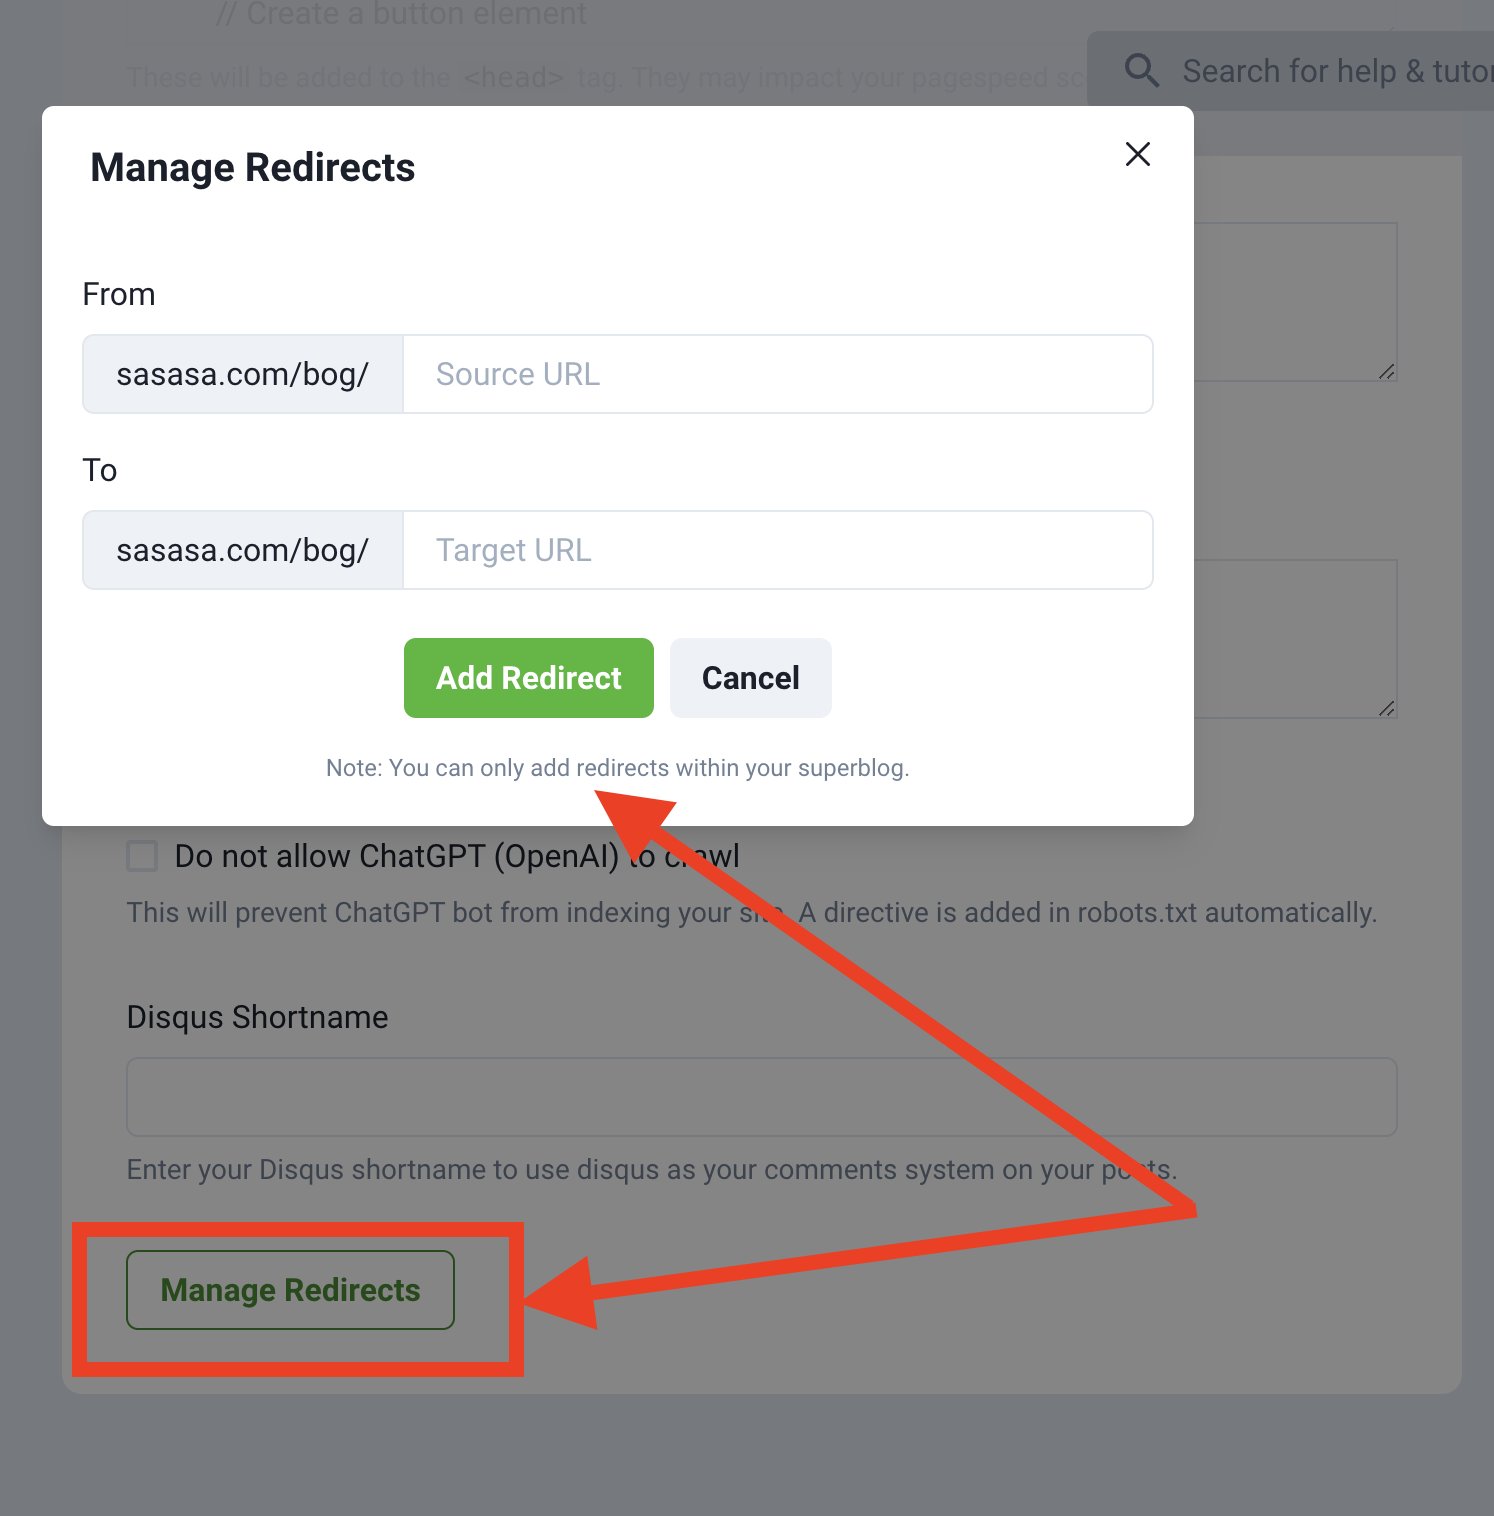
Redirects
You can use redirects to redirect from old post url to new post url. (301 redirect)
However, you can add redirects within your superblog only.
For example:
yourwebsite.com/blog/old-post-url -> yourwebsite.com/blog/new-post-url
blog.yourwebsite.com/blog/old-post-url -> blog.yourwebsite.com/blog/new-post-url
